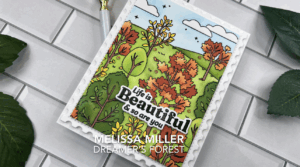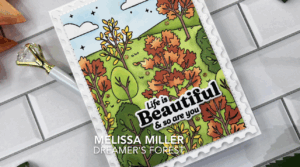

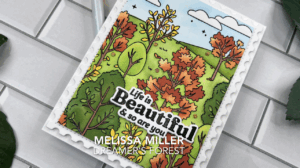
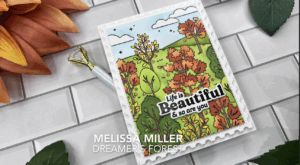
It is always so much fun to watch a stenciled image come to life, and the Dreamer’s Forest stamp and stencil sets from Pinkfresh Studio did not disappoint! I knew as soon as I saw this set that I wanted to do a very colorful fall scene. I am loving the oranges and greens on this card! To start, I stamped my background and then got to stenciling. But first, I must confess that when I first started, this set gave me a little bit of a problem. For the life of me, I couldn’t get my stencils lined up like I wanted. After a little research I found out that Pinkfresh actually recommends shifting the stencil while using. Apparently with red rubber stamps there can be slight differences that need to be accommodated for. As soon as I realized this, I had no problems at all. I used a variety of yellows, oranges and green inks for my image. After stenciling, I placed my panel back in my Misti and stamped in Versamark and heat embossed with clear embossing powder. This is a favorite technique of mine because that crisp black line just really makes all your colors pop. I trimmed my panel to fit inside the largest Postage Edge die, adhered the two panels with foam tape, added my sentiment and some gems. I chose the perfect sentiment from The Beyond Happy stamp and die set. “Life is Beautiful & so are you”. For more details, links to all the products I used and to watch me create this card you can click here. Thank you for stopping by!